Raspberry Pi Remote IoT Tutorial: Your Gateway To Smart Living
Hey there, tech enthusiasts! If you're reading this, chances are you've heard about Raspberry Pi and its magical ability to turn your home into a smart haven. But let's be real—getting started with Raspberry Pi for remote IoT projects can feel overwhelming, especially if you're new to the game. Fear not! This Raspberry Pi remote IoT tutorial will guide you step by step, making you a pro in no time. So buckle up and let's dive in!
Whether you're a seasoned developer or just someone curious about home automation, Raspberry Pi is your golden ticket to unlocking endless possibilities. From controlling smart devices remotely to setting up your own weather station, this tiny yet powerful computer is your ultimate companion. In this guide, we'll walk you through everything you need to know to get started with Raspberry Pi remote IoT projects.
Now, before we jump into the nitty-gritty details, let's talk about why Raspberry Pi is such a big deal. It's not just another gadget; it's a versatile platform that empowers creators, hobbyists, and even businesses to innovate. So, if you've ever wondered how to connect your home devices and control them from anywhere, this Raspberry Pi remote IoT tutorial is your ultimate resource.
- Greg Gisoni The Man Who Turned Passion Into Purpose
- Pinning For Kim A Deep Dive Into The Phenomenon Taking Over The Internet
Understanding the Basics of Raspberry Pi
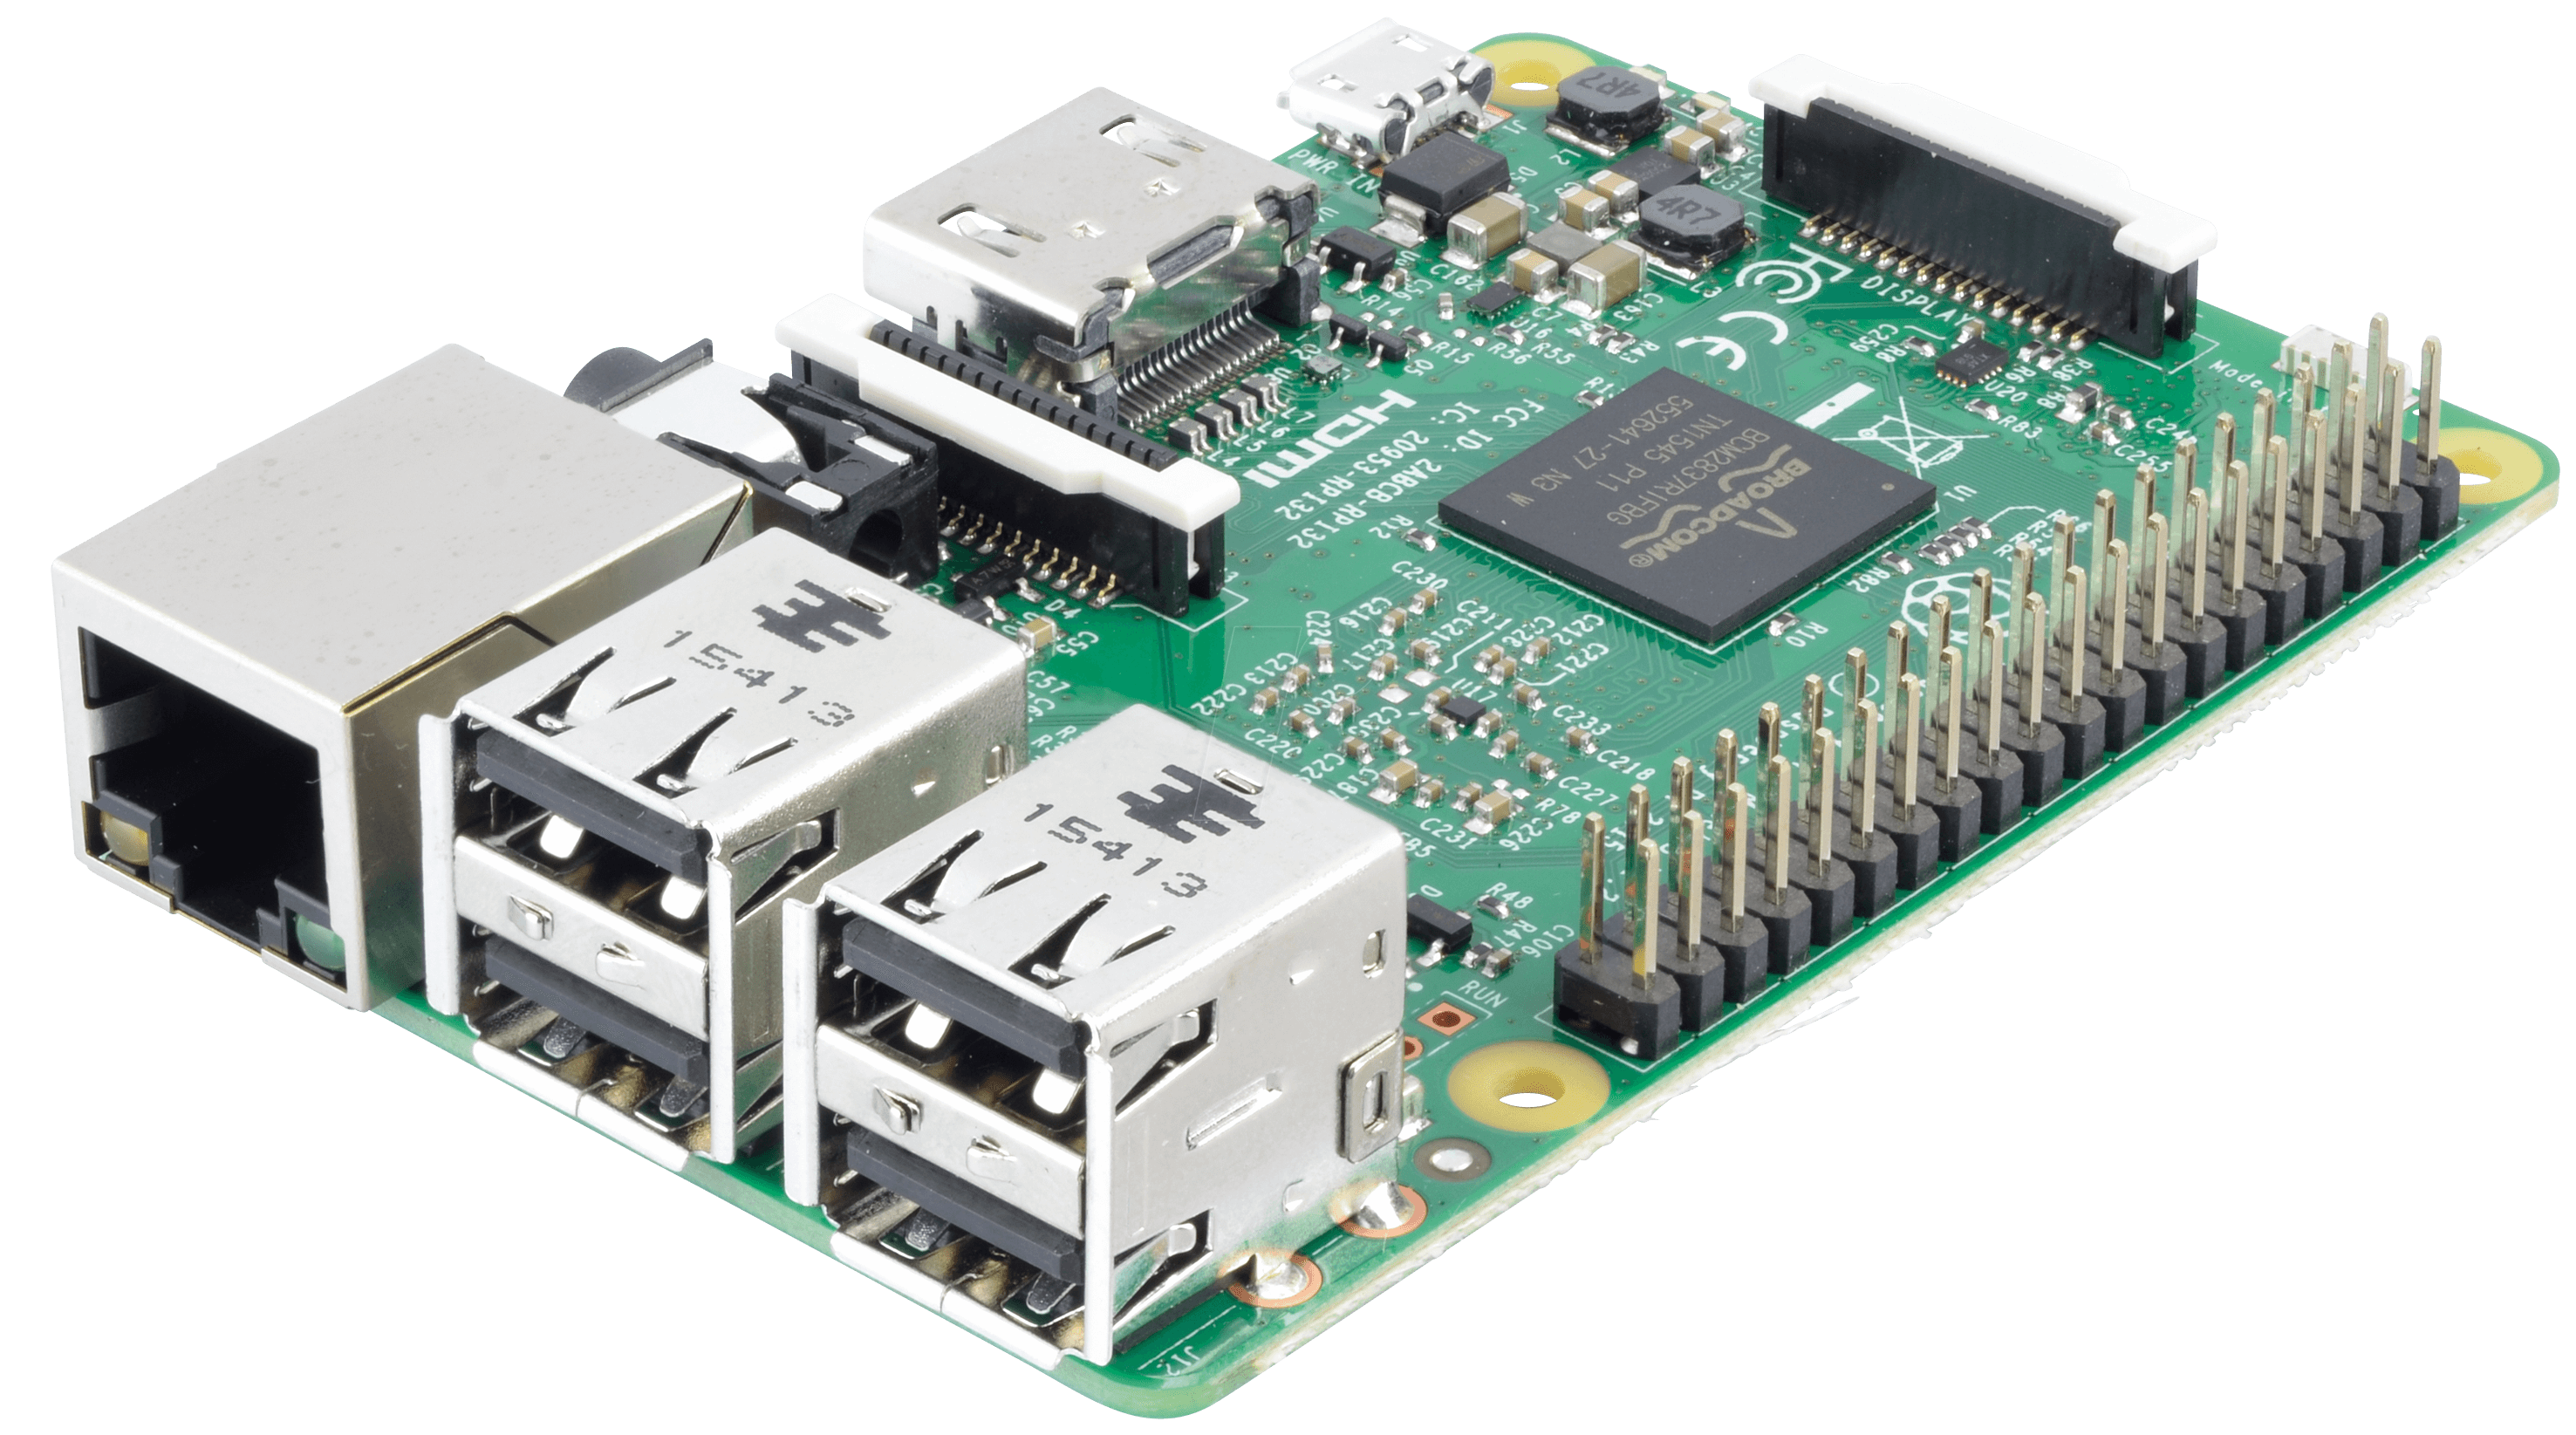
First things first, what exactly is Raspberry Pi? Simply put, it's a credit-card-sized computer that can perform a wide range of tasks, from running a media center to powering complex IoT projects. Here's a quick rundown of its key features:
- Compact and lightweight design
- Supports multiple programming languages like Python, C++, and Java
- Equipped with GPIO pins for connecting sensors and actuators
- Runs on Linux-based operating systems like Raspbian
For our Raspberry Pi remote IoT tutorial, understanding the basics of how it works is crucial. Think of Raspberry Pi as the brain of your IoT setup, responsible for processing data, executing commands, and communicating with other devices.
Setting Up Your Raspberry Pi for IoT
Alright, now that you know what Raspberry Pi is, let's talk about setting it up for IoT projects. The process is pretty straightforward, but there are a few key steps you need to follow:
- South Movie Download Your Ultimate Guide To Legally Streaming And Downloading South Indian Films
- Hd Movie Hub4u Your Ultimate Destination For Highquality Movies
Step 1: Gather Your Hardware
Before you can start tinkering, you'll need to gather the necessary hardware components. Here's a list of essentials:
- Raspberry Pi board (preferably the latest model)
- MicroSD card with at least 16GB storage
- Power supply with the correct voltage and amperage
- HDMI cable and monitor (optional if you're using headless mode)
- Keyboard and mouse (optional)
Once you have all the components, it's time to move on to the next step.
Step 2: Install the Operating System
Choosing the right operating system is critical for your Raspberry Pi remote IoT project. The most popular choice is Raspbian, a Debian-based OS optimized for Raspberry Pi. Here's how you can install it:
- Download the latest version of Raspbian from the official website
- Use a tool like Balena Etcher to flash the OS image onto your MicroSD card
- Insert the MicroSD card into your Raspberry Pi and power it on
And just like that, your Raspberry Pi is ready to roll!
Connecting Raspberry Pi to the Internet
For any remote IoT project, having a stable internet connection is a must. Here's how you can connect your Raspberry Pi to the web:
Wi-Fi Setup
Connecting via Wi-Fi is super easy. Just follow these steps:
- Open the terminal on your Raspberry Pi
- Run the command "sudo nano /etc/wpa_supplicant/wpa_supplicant.conf"
- Add your network details in the following format:
network={
ssid="YourNetworkName"
psk="YourPassword"
}
Save the file and reboot your Raspberry Pi. Voila! You're now connected to Wi-Fi.
Ethernet Connection
If you prefer a wired connection, simply plug an Ethernet cable into your Raspberry Pi. It will automatically connect to your network.
Programming Raspberry Pi for IoT
Now that your Raspberry Pi is set up and connected to the internet, it's time to start programming. Python is the go-to language for Raspberry Pi projects due to its simplicity and extensive library support. Here's a quick example of how you can control an LED using Python:
Controlling an LED
First, connect an LED to one of the GPIO pins on your Raspberry Pi. Then, use the following Python code to turn it on and off:
import RPi.GPIO as GPIO
import time
GPIO.setmode(GPIO.BCM)
led_pin = 18
GPIO.setup(led_pin, GPIO.OUT)
while True:
GPIO.output(led_pin, True)
time.sleep(1)
GPIO.output(led_pin, False)
time.sleep(1)
This simple script will make the LED blink continuously. Pretty cool, right?
Remote Access to Raspberry Pi
One of the coolest features of Raspberry Pi is the ability to access it remotely. This means you can control your IoT devices from anywhere in the world. Here's how you can set it up:
SSH Setup
SSH (Secure Shell) allows you to access your Raspberry Pi's terminal from another computer. Here's how to enable it:
- Open the Raspberry Pi Configuration tool
- Go to the "Interfaces" tab
- Select "Enable" next to SSH
Once enabled, you can connect to your Raspberry Pi using an SSH client like PuTTY or Terminal.
VNC Setup
If you prefer a graphical interface, VNC is the way to go. Here's how to set it up:
- Install the VNC server on your Raspberry Pi
- Run the command "sudo apt-get install realvnc-vnc-server realvnc-vnc-viewer"
- Launch the VNC server and note down the connection details
Now you can access your Raspberry Pi's desktop remotely using a VNC client.
Building Your First Raspberry Pi IoT Project
Now that you have all the basics down, it's time to build your first Raspberry Pi remote IoT project. How about creating a smart home security system? Here's a step-by-step guide:
Step 1: Gather Components
You'll need the following components:
- Raspberry Pi board
- PIR motion sensor
- Buzzer or alarm
- Jumper wires
Step 2: Connect the Components
Follow the wiring diagram to connect the PIR sensor and buzzer to your Raspberry Pi. Make sure everything is connected properly before proceeding.
Step 3: Write the Code
Use the following Python code to detect motion and trigger the alarm:
import RPi.GPIO as GPIO
import time
GPIO.setmode(GPIO.BCM)
pir_sensor = 23
buzzer = 24
GPIO.setup(pir_sensor, GPIO.IN)
GPIO.setup(buzzer, GPIO.OUT)
try:
while True:
if GPIO.input(pir_sensor):
print("Motion Detected!")
GPIO.output(buzzer, True)
time.sleep(1)
GPIO.output(buzzer, False)
time.sleep(1)
else:
GPIO.output(buzzer, False)
time.sleep(0.1)
except KeyboardInterrupt:
GPIO.cleanup()
And there you have it—a simple yet effective smart home security system!
Troubleshooting Common Issues
Even the best-laid plans can go awry sometimes. Here are some common issues you might encounter and how to fix them:
Issue 1: Raspberry Pi Won't Boot
If your Raspberry Pi isn't booting up, check the following:
- Ensure the power supply is correctly connected
- Verify that the MicroSD card is inserted properly
- Try re-flashing the operating system onto the MicroSD card
Issue 2: Internet Connectivity Problems
If you're having trouble connecting to the internet, try these solutions:
- Check your Wi-Fi credentials and re-enter them if necessary
- Restart your router and modem
- Switch to an Ethernet connection if Wi-Fi isn't working
Advanced Raspberry Pi IoT Projects
Once you've mastered the basics, it's time to take your Raspberry Pi remote IoT skills to the next level. Here are a few advanced project ideas to inspire you:
Project 1: Smart Weather Station
Build your own weather station using sensors like temperature, humidity, and pressure sensors. Use Raspberry Pi to collect and display the data in real-time.
Project 2: Home Automation System
Create a centralized system to control all your smart home devices. Use Raspberry Pi as the hub and integrate it with services like Google Home or Amazon Alexa.
Project 3: Personal Cloud Storage
Turn your Raspberry Pi into a personal cloud server. Store your files securely and access them from anywhere.
Conclusion
And there you have it, folks! A comprehensive Raspberry Pi remote IoT tutorial to help you embark on your IoT journey. From setting up your Raspberry Pi to building your first IoT project, we've covered everything you need to know. Remember, the possibilities are endless, so don't be afraid to experiment and push the boundaries of what you can achieve.
Now it's your turn! Share your thoughts, questions, and project ideas in the comments below. And if you found this Raspberry Pi remote IoT tutorial helpful, don't forget to share it with your friends and fellow tech enthusiasts. Happy tinkering, and see you in the next one!
Table of Contents
- Understanding the Basics of Raspberry Pi
- Setting Up Your Raspberry Pi for IoT
- Connecting Raspberry Pi to the Internet
- Programming Raspberry Pi for IoT
- Remote Access to Raspberry Pi
- Building Your First Raspberry Pi IoT Project
- Troubleshooting Common Issues
- Advanced Raspberry Pi IoT Projects
- Conclusion


Detail Author:
- Name : Dr. Theresia Waelchi MD
- Username : trevion58
- Email : nader.emmie@hotmail.com
- Birthdate : 2001-01-23
- Address : 786 Mayert Pine South Ilianaborough, CA 24493-0543
- Phone : +1.541.551.0752
- Company : Miller-McLaughlin
- Job : Printing Machine Operator
- Bio : Ipsum perferendis error sint suscipit. Perferendis qui provident repellendus placeat voluptas.
Socials
linkedin:
- url : https://linkedin.com/in/beaulah.okuneva
- username : beaulah.okuneva
- bio : Sed quod ut voluptatem illum non laudantium aut.
- followers : 5601
- following : 593
twitter:
- url : https://twitter.com/beaulah_dev
- username : beaulah_dev
- bio : Eum quae pariatur magnam porro et quae. Ea ipsa id in accusantium. Eos soluta repudiandae illo qui harum.
- followers : 670
- following : 2579
