How To Use SSH Remote On Mac Without Extra Tools: A Comprehensive Guide
Are you looking for a way to use SSH remote on your Mac without installing extra tools? Well, you're in the right place, my friend! SSH (Secure Shell) is like a secret passage that lets you connect to remote servers or devices securely. It's powerful, reliable, and built right into your Mac. So, no need to download fancy software or spend money on apps. In this guide, we'll walk you through everything you need to know about using SSH on your Mac like a pro.
If you're new to SSH, don't worry. This guide is designed to be beginner-friendly while still offering some advanced tips for the more experienced users out there. Whether you're a developer, a network admin, or just someone who wants to tinker with remote connections, we've got you covered. Let's dive in and make SSH your new best friend!
Before we get started, let me tell you something cool: SSH is already installed on your Mac. Yep, that's right! macOS comes with SSH pre-installed, so you won't need any third-party apps to get started. All you need is Terminal, a little bit of patience, and this guide to help you along the way. Ready? Let's go!
- New South Movie Hindi Dubbed 2025 Your Ultimate Guide To The Hottest Film
- Movierulz Telugu Movies 2024 Download Your Ultimate Guide To The Latest Blockbusters
What Is SSH and Why Should You Care?
SSH stands for Secure Shell, and it's basically a way to communicate with remote devices securely. Think of it as a secure tunnel between your computer and a server or another device. It's not just for tech wizards; anyone can use it to manage files, run commands, or even transfer data safely.
Here's why SSH matters:
- Security: SSH encrypts all your data, so prying eyes can't see what you're doing.
- Flexibility: You can use SSH to connect to any device that supports it, from servers to IoT gadgets.
- Efficiency: It's super fast and reliable, making it perfect for remote work or troubleshooting.
In short, SSH is like having a personal bodyguard for your digital activities. And the best part? It's already on your Mac, waiting for you to use it!
- 5movierulz 2025 Download Kannada Your Ultimate Guide To Movies And Beyond
- 4 Movie Rulz Your Ultimate Guide To Iconic Film Masterpieces
Setting Up SSH on Your Mac: The Basics
Now that you know what SSH is, let's talk about setting it up on your Mac. Don't panic—it's easier than you think. Here's what you need to do:
Step 1: Open Terminal
Terminal is your gateway to SSH. To open it, go to Applications > Utilities > Terminal. Or, you can use Spotlight Search by pressing Command + Space and typing "Terminal." Easy peasy, right?
Step 2: Check if SSH Is Installed
As we mentioned earlier, SSH comes pre-installed on macOS. To confirm, type this command in Terminal:
ssh -V
This will show you the version of SSH installed on your Mac. If you see a version number, you're good to go!
Step 3: Generate SSH Keys
SSH keys are like digital passports that let you access remote devices without entering passwords every time. Here's how to generate them:
- Open Terminal and type:
ssh-keygen -t rsa -b 4096 - Press Enter when prompted to save the key in the default location.
- Set a passphrase (optional but recommended) for added security.
And just like that, you've got your SSH keys ready to go!
Connecting to a Remote Server via SSH
Now that you've set up SSH, it's time to connect to a remote server. Here's how you do it:
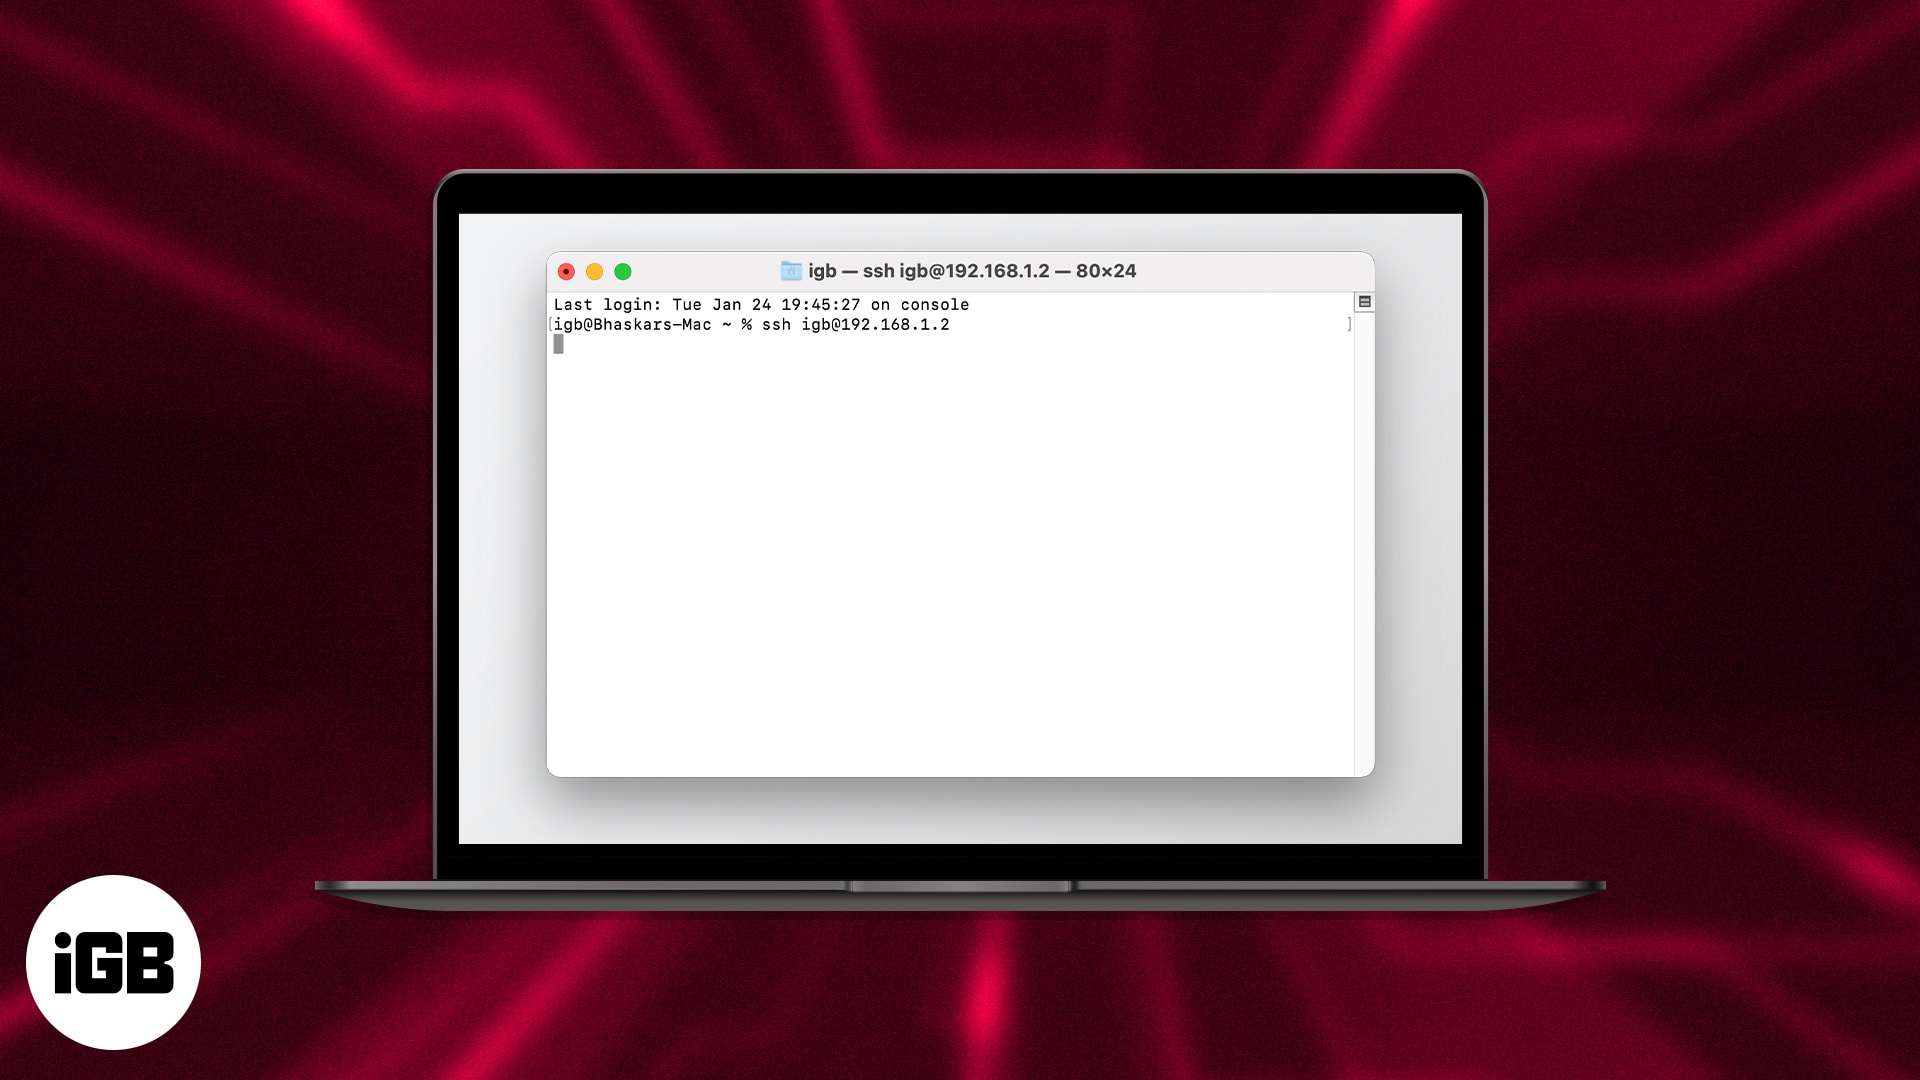
In Terminal, type the following command:
ssh username@remote-server-address
Replace "username" with your username on the remote server and "remote-server-address" with the server's IP address or domain name. For example:
ssh john@192.168.1.100
Hit Enter, and you'll be prompted to enter your password. Once you do, you'll be connected to the server. Simple, right?
Troubleshooting Common SSH Issues
Even the best tools can have hiccups sometimes. If you're having trouble with SSH, here are some common issues and how to fix them:
1. Permission Denied (publickey)
This error usually means your SSH key isn't set up correctly. Double-check that your public key is added to the remote server's authorized_keys file.
2. Connection Refused
This might happen if the remote server isn't running an SSH service. Make sure the server's SSH service is active and listening on the correct port.
3. Timeout Errors
Timeouts can occur if there's a network issue or firewall blocking the connection. Check your network settings and ensure the server's firewall allows SSH traffic.
Advanced SSH Techniques
Once you've mastered the basics, it's time to level up your SSH skills. Here are some advanced techniques to try:
SSH Tunneling
SSH tunneling lets you forward traffic securely between your Mac and a remote server. This is great for bypassing firewalls or accessing restricted websites. To create an SSH tunnel, use this command:
ssh -L local_port:destination:destination_port username@remote-server
SSH Configuration File
Instead of typing long SSH commands every time, you can create a config file to simplify things. Open Terminal and type:
nano ~/.ssh/config
Add your server details here, and you'll be able to connect with just one command!
Using SSH for IoT Devices
SSH isn't just for servers; it's perfect for IoT devices too. Whether you're managing a Raspberry Pi or controlling smart home gadgets, SSH can help. Here's how:
First, ensure your IoT device has SSH enabled. Then, use the same SSH command we discussed earlier to connect. For example:
ssh pi@raspberrypi.local
Now you can remotely control your IoT device from your Mac. Pretty cool, huh?
Security Tips for SSH
SSH is secure by default, but there are a few extra steps you can take to make it even safer:
- Disable Password Authentication: Use SSH keys instead of passwords to prevent brute-force attacks.
- Change the Default Port: Moving SSH from port 22 to a different port can reduce automated attacks.
- Use a Firewall: Restrict SSH access to trusted IP addresses only.
By following these tips, you'll make your SSH connections as secure as possible.
Alternatives to SSH on Mac
While SSH is fantastic, there are other tools you might want to explore:
1. Mosh
Mosh (Mobile Shell) is like SSH but with better support for mobile connections. It's great if you're working remotely and switching between Wi-Fi and cellular networks.
2. SCP
SCP (Secure Copy Protocol) is part of SSH and lets you transfer files securely between your Mac and a remote server. Use it like this:
scp file_name username@remote-server:/destination
3. SFTP
SFTP (Secure File Transfer Protocol) is another SSH feature that allows you to manage files on remote servers. Many FTP clients support SFTP, making it easy to use.
Conclusion: Mastering SSH on Your Mac
Well, there you have it—a complete guide to using SSH remote on your Mac without extra tools. Whether you're connecting to servers, managing IoT devices, or securing your data, SSH is an invaluable tool. Remember to generate strong SSH keys, follow best security practices, and explore advanced techniques to make the most of it.
Now it's your turn! Try out these tips, leave a comment below with your thoughts, and share this article with your friends. Who knows? You might just inspire someone else to become an SSH master too!
Table of Contents
- What Is SSH and Why Should You Care?
- Setting Up SSH on Your Mac: The Basics
- Connecting to a Remote Server via SSH
- Troubleshooting Common SSH Issues
- Advanced SSH Techniques
- Using SSH for IoT Devices
- Security Tips for SSH
- Alternatives to SSH on Mac


Detail Author:
- Name : Jayme Fahey
- Username : qhackett
- Email : pollich.tobin@hotmail.com
- Birthdate : 1984-06-14
- Address : 336 Mann Road New Mervin, MS 20145
- Phone : 820-600-1461
- Company : Herzog-Mertz
- Job : Social Scientists
- Bio : Temporibus et sed dolor alias quia vitae. Excepturi maxime corporis qui et est est voluptates quas. Quae consequatur qui distinctio vel saepe voluptatem magni. Quasi ducimus numquam et eos illum.
Socials
instagram:
- url : https://instagram.com/fleta.mraz
- username : fleta.mraz
- bio : Exercitationem quod rerum architecto vel. Dolorem rem vel hic aut sint.
- followers : 135
- following : 2552
linkedin:
- url : https://linkedin.com/in/mraz1990
- username : mraz1990
- bio : Perferendis omnis officiis veritatis vel rerum.
- followers : 451
- following : 1818

 is like a)