Raspberry Pi Remote IoT Tutorial: Your Ultimate Guide To Smart Home Setup
Hey there, tech enthusiasts! If you're reading this, chances are you've heard about Raspberry Pi and its magical powers in the world of IoT. But let me ask you something—are you ready to take your home automation game to the next level? Well, buckle up because today we're diving deep into a Raspberry Pi remote IoT tutorial that'll blow your mind!
Imagine being able to control your smart devices from anywhere in the world. Sounds cool, right? With Raspberry Pi, it’s not just a dream—it’s a reality. In this guide, we’ll walk you through everything you need to know about setting up a remote IoT system using Raspberry Pi. Whether you're a seasoned pro or a complete noob, this tutorial is designed to help you every step of the way.
Now, I know what you're thinking—"Is it really that easy?" The answer is yes! With the right tools, a bit of patience, and this Raspberry Pi remote IoT tutorial, you'll be controlling your lights, thermostats, and security systems in no time. So, let's get started, shall we?
- Why Ullu Web Series Is The Ultimate Destination For Bingewatching
- Movie Rule The Ultimate Guide To Understanding And Mastering The Film Industry
What Is Raspberry Pi and Why Should You Care?
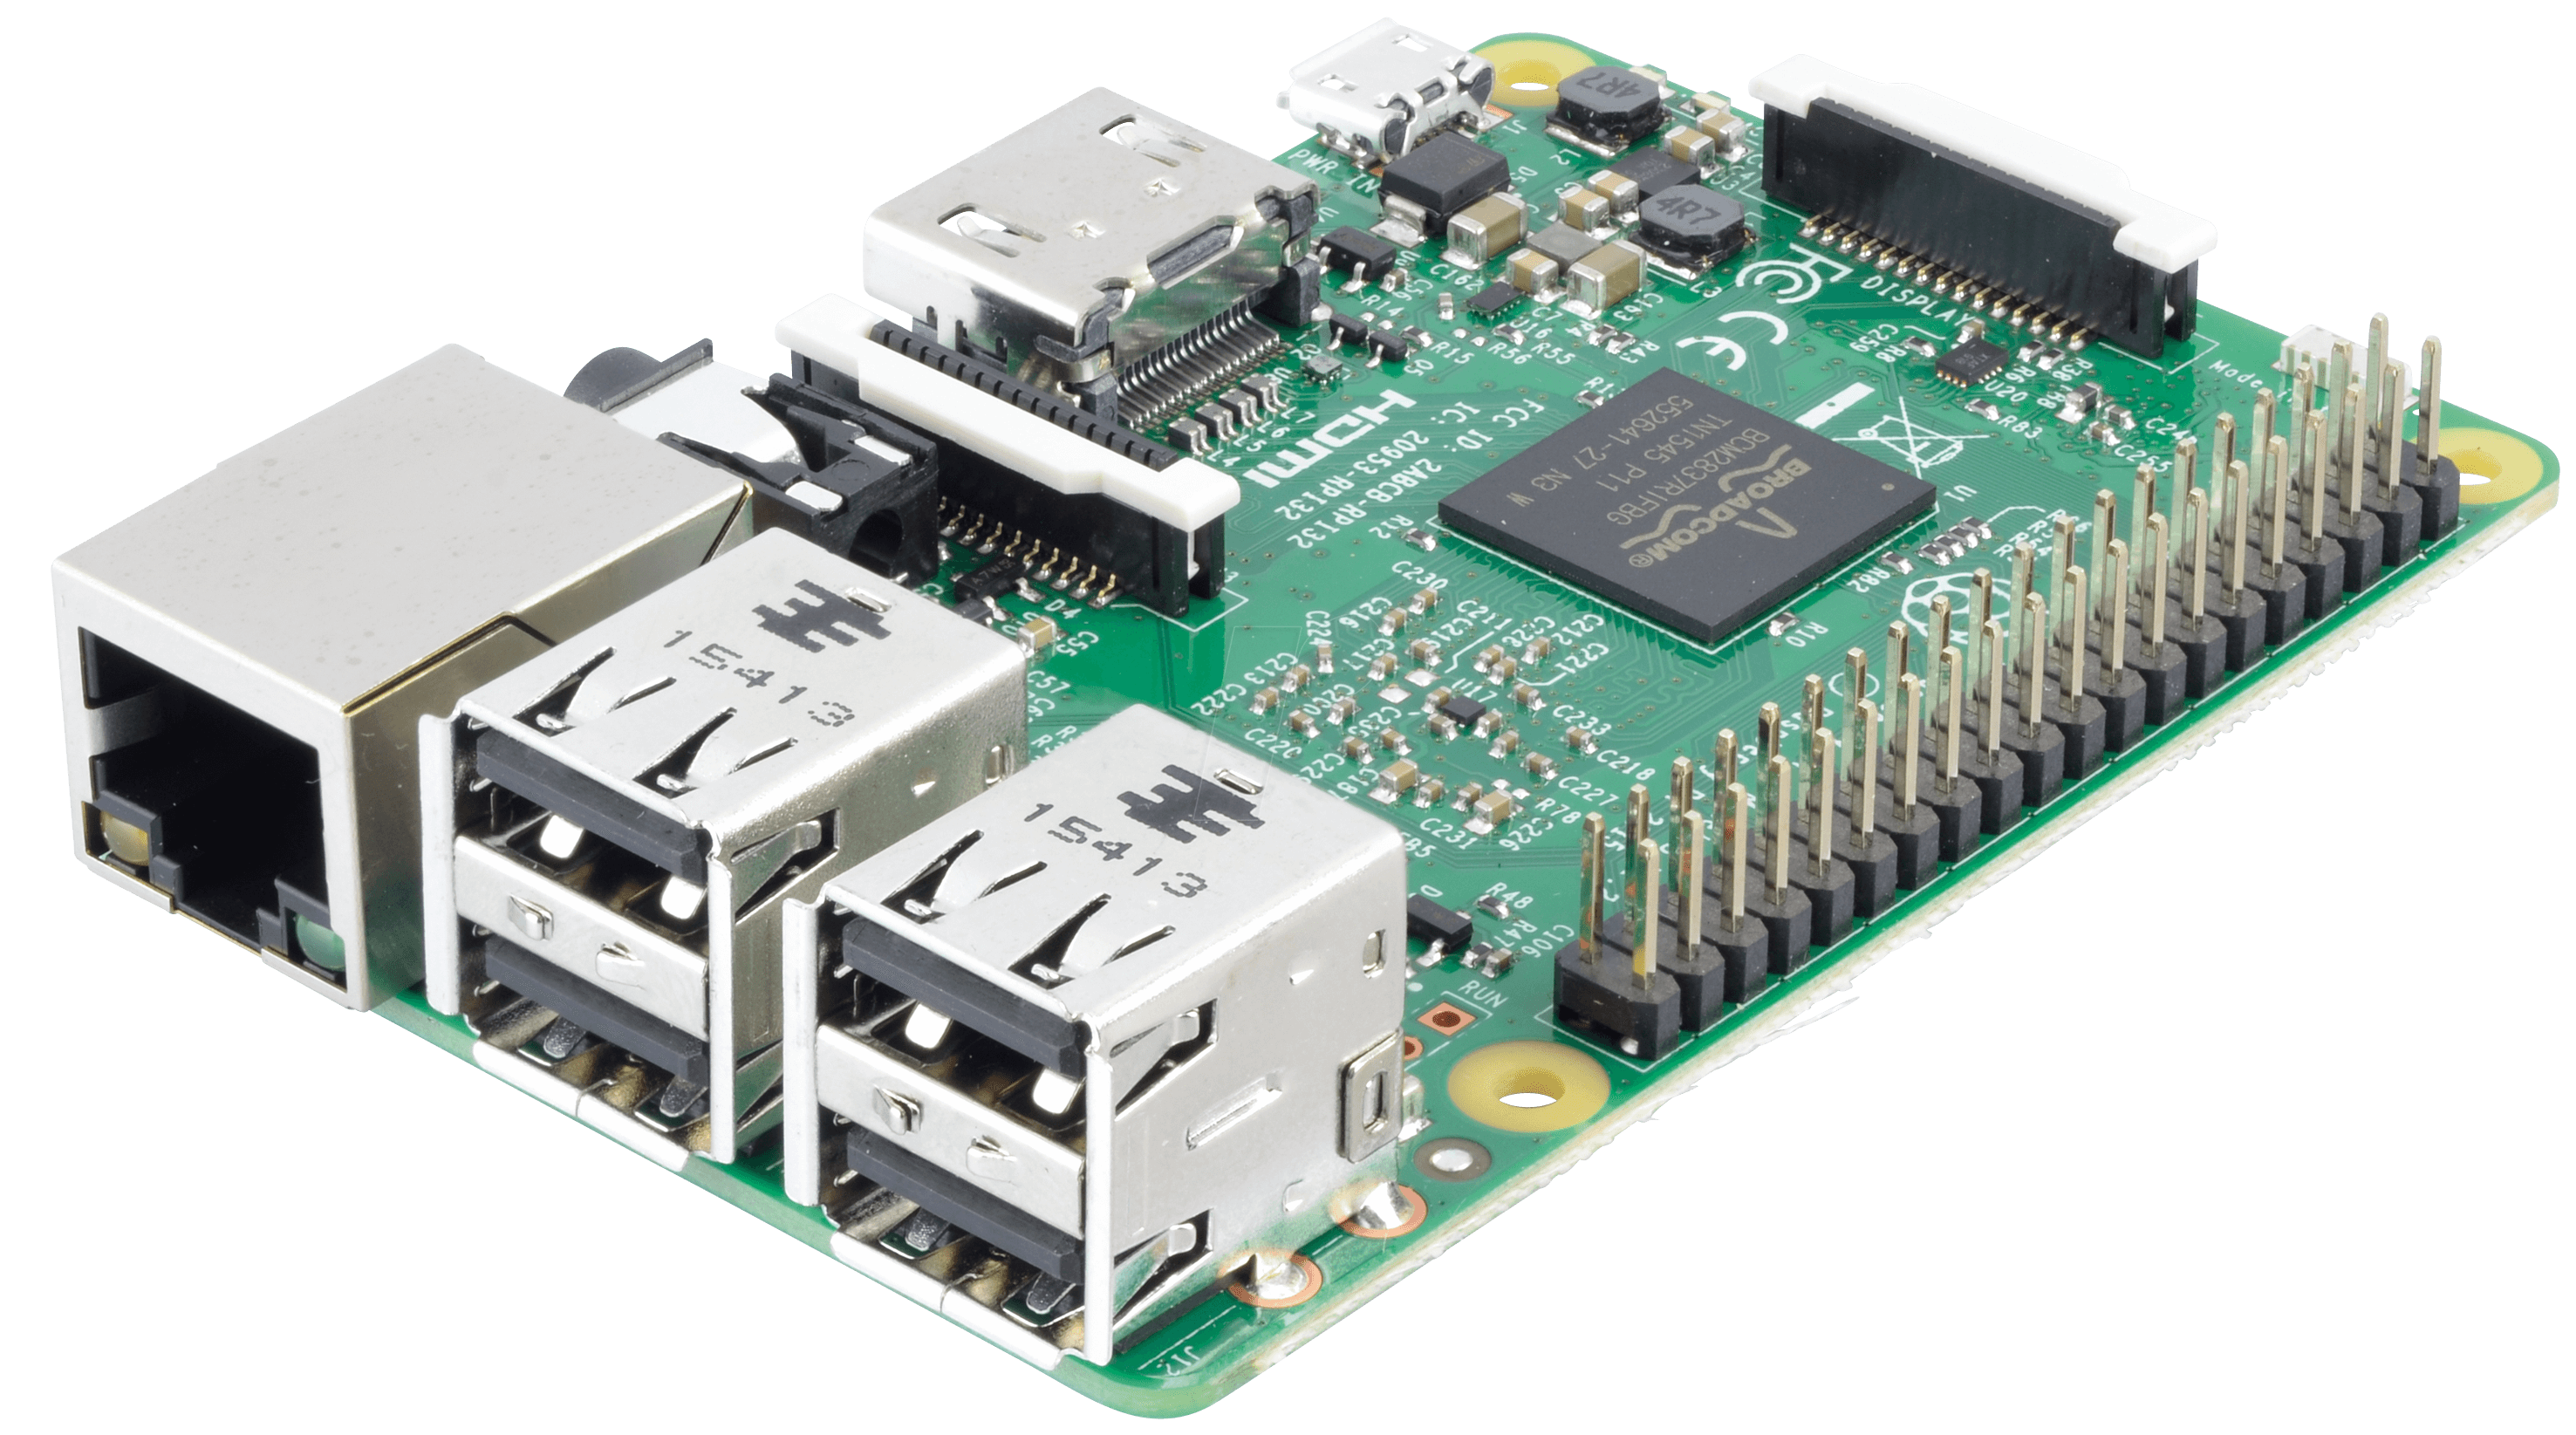
Before we jump into the nitty-gritty of setting up your remote IoT system, let’s take a moment to talk about Raspberry Pi. For those who don’t know, Raspberry Pi is a tiny yet powerful computer that can do everything from running a web server to controlling smart home devices.
Here’s why you should care:
- It's affordable—most models cost less than $50.
- It's versatile—you can use it for anything from gaming to home automation.
- It's beginner-friendly—even if you’ve never coded before, you can still get started with Raspberry Pi.
And if that's not enough to convince you, just think about all the cool projects you can build. From a personal weather station to a smart irrigation system, the possibilities are endless.
- Www Hdhub4u In Your Ultimate Gateway To Highquality Entertainment
- 5movierulz 2023 Download Kannada New Movies Your Ultimate Guide
Why Raspberry Pi Is Perfect for Remote IoT Projects
Now that you know what Raspberry Pi is, let’s talk about why it’s such a great fit for remote IoT projects. First off, Raspberry Pi has built-in networking capabilities, which makes it super easy to connect to the internet. Plus, it’s lightweight and doesn’t require a lot of power, so you can run it 24/7 without breaking the bank.
Here are some of the key reasons Raspberry Pi is perfect for remote IoT:
- Low Power Consumption: Raspberry Pi uses very little power, making it ideal for long-term projects.
- Wide Range of Add-ons: There are tons of accessories and expansion boards available, so you can customize your setup to fit your needs.
- Community Support: With a huge community of developers and enthusiasts, you’ll never run out of resources or support when troubleshooting.
Setting Up Your Raspberry Pi for IoT
Step 1: Gathering Your Materials
Before you start tinkering, you’ll need a few things. Here’s a list of everything you’ll need to set up your Raspberry Pi for remote IoT:
- Raspberry Pi (any model will do, but Pi 4 is recommended)
- MicroSD card (at least 16GB)
- Power adapter
- Wi-Fi dongle (if your Pi doesn’t have built-in Wi-Fi)
- HDMI cable (optional)
- Keyboard and mouse (optional)
Step 2: Installing the Operating System
Once you’ve gathered all your materials, it’s time to install the operating system. For this tutorial, we’ll be using Raspberry Pi OS, which is the official operating system for Raspberry Pi.
Here’s how to do it:
- Download Raspberry Pi Imager from the official website.
- Insert your MicroSD card into your computer.
- Open Raspberry Pi Imager and select the Raspberry Pi OS you want to install.
- Choose your MicroSD card and click "Write" to install the OS.
Connecting Your Raspberry Pi to the Internet
Now that you’ve installed the operating system, it’s time to connect your Raspberry Pi to the internet. This is crucial for any remote IoT project, as it allows you to control your devices from anywhere in the world.
Here’s how to connect your Raspberry Pi to Wi-Fi:
- Boot up your Raspberry Pi and open the terminal.
- Type "sudo nano /etc/wpa_supplicant/wpa_supplicant.conf" and press Enter.
- Add the following lines to the file:
network={
ssid="your_network_name"
psk="your_network_password"
}
4. Save the file and exit.
5. Reboot your Raspberry Pi by typing "sudo reboot" in the terminal.
Setting Up SSH for Remote Access
SSH (Secure Shell) is a protocol that allows you to remotely access your Raspberry Pi from another device. This is super useful if you want to control your IoT devices without having to physically access your Raspberry Pi.
Here’s how to enable SSH:
- Open the terminal on your Raspberry Pi.
- Type "sudo raspi-config" and press Enter.
- Select "Interfacing Options" and enable SSH.
- Reboot your Raspberry Pi.
Now you can connect to your Raspberry Pi from another device using an SSH client like PuTTY (for Windows) or Terminal (for Mac).
Installing IoT Software
With your Raspberry Pi connected to the internet and SSH enabled, it’s time to install some IoT software. For this tutorial, we’ll be using MQTT, a lightweight messaging protocol that’s perfect for IoT projects.
Here’s how to install MQTT:
- Open the terminal on your Raspberry Pi.
- Type "sudo apt update" and press Enter.
- Type "sudo apt install mosquitto mosquitto-clients" and press Enter.
Once MQTT is installed, you can start sending and receiving messages between your Raspberry Pi and your IoT devices.
Building Your First IoT Project
Now that everything is set up, it’s time to build your first IoT project. For this tutorial, we’ll be creating a simple light control system using a relay module and a Python script.
Step 1: Wiring Your Relay Module
Here’s how to wire your relay module:
- Connect the VCC pin of the relay module to the 5V pin on your Raspberry Pi.
- Connect the GND pin of the relay module to a ground pin on your Raspberry Pi.
- Connect the IN pin of the relay module to a GPIO pin on your Raspberry Pi (e.g., GPIO 18).
Step 2: Writing the Python Script
Here’s a simple Python script to control the relay module:
import RPi.GPIO as GPIO
import time
GPIO.setmode(GPIO.BCM)
relay_pin = 18
GPIO.setup(relay_pin, GPIO.OUT)
try:
while True:
GPIO.output(relay_pin, GPIO.HIGH)
time.sleep(1)
GPIO.output(relay_pin, GPIO.LOW)
time.sleep(1)
except KeyboardInterrupt:
GPIO.cleanup()
Save this script as "relay_control.py" and run it using the command "python3 relay_control.py". Your relay should now turn on and off every second.
Securing Your Raspberry Pi
Security is a big deal when it comes to remote IoT projects. After all, you don’t want some random hacker taking control of your smart home devices. Here are a few tips to keep your Raspberry Pi secure:
- Change the default password for the "pi" user.
- Disable the "pi" user account and create a new admin account.
- Use a firewall to restrict access to your Raspberry Pi.
- Keep your software up to date to protect against vulnerabilities.
Troubleshooting Common Issues
Even the best-laid plans can go awry sometimes. If you run into any issues while setting up your Raspberry Pi remote IoT system, here are a few troubleshooting tips:
- Can't Connect to Wi-Fi? Double-check your network name and password in the wpa_supplicant.conf file.
- SSH Not Working? Make sure SSH is enabled in the Raspberry Pi configuration settings.
- Relay Not Responding? Check your wiring and make sure your GPIO pin is correctly configured in your Python script.
Conclusion
And there you have it—your ultimate Raspberry Pi remote IoT tutorial! By following the steps in this guide, you should now have a fully functional remote IoT system that you can control from anywhere in the world.
Remember, the possibilities with Raspberry Pi are endless. Whether you’re building a smart home, a personal weather station, or something else entirely, the only limit is your imagination.
So, what are you waiting for? Grab your Raspberry Pi, fire up your terminal, and start tinkering. And don’t forget to leave a comment below letting us know what cool projects you’re working on!
Happy building, and stay awesome!


Detail Author:
- Name : Miss Ima Ondricka Jr.
- Username : watsica.efren
- Email : daren09@goodwin.com
- Birthdate : 1988-07-04
- Address : 464 Strosin Gateway West Ezrabury, ME 30469
- Phone : 1-872-354-0624
- Company : Adams Ltd
- Job : Music Composer
- Bio : Odit consectetur eligendi et nulla illo quas. Dolor ad in tenetur hic sint. Ut qui ut porro quidem rem nisi aliquam.
Socials
tiktok:
- url : https://tiktok.com/@dbogan
- username : dbogan
- bio : Numquam maxime assumenda dolores autem at laudantium.
- followers : 2621
- following : 1463
facebook:
- url : https://facebook.com/dariana.bogan
- username : dariana.bogan
- bio : Quam consequuntur ipsa molestiae. Ut voluptas mollitia laudantium accusamus.
- followers : 813
- following : 2544
linkedin:
- url : https://linkedin.com/in/dariana_bogan
- username : dariana_bogan
- bio : Eius minus expedita quia rerum accusantium sed.
- followers : 6033
- following : 1790
twitter:
- url : https://twitter.com/dariana.bogan
- username : dariana.bogan
- bio : Ipsam doloremque blanditiis id distinctio eaque dicta et. Veniam omnis et quos facere.
- followers : 5500
- following : 530
instagram:
- url : https://instagram.com/bogand
- username : bogand
- bio : Aut sed quasi minus ea. Tempore iste qui vel placeat. Non ut dolores corrupti quia.
- followers : 3138
- following : 1570
