Raspberry Pi VPC Network Tutorial: Your Ultimate Guide To Building A Virtual Private Cloud
Ever wondered how to create your very own Virtual Private Cloud (VPC) using Raspberry Pi? Well, you’re in the right place. In this tutorial, we’ll dive deep into the world of Raspberry Pi VPC network setups and show you step-by-step how to get it done. Whether you’re a tech enthusiast or just starting out, this guide will be your go-to resource for all things Raspberry Pi VPC.
Let’s face it—cloud computing isn’t just for big corporations anymore. These days, even hobbyists and small businesses are getting in on the action. And if you’ve got a Raspberry Pi lying around, why not put it to good use? Building a VPC network with Raspberry Pi is easier than you think, and it opens up a world of possibilities for managing your data securely and efficiently.
This isn’t just another tech tutorial. We’re here to break down complex concepts into bite-sized chunks that anyone can understand. So grab your Pi, roll up your sleeves, and let’s get started!
- Movierulz 2024 The Ultimate Guide To Downloading Telugu Movies
- Hd Hub 4utv Your Ultimate Destination For Highquality Entertainment
Before we jump into the nitty-gritty, let’s lay out the roadmap for what we’ll cover in this tutorial. Think of it as your cheat sheet for mastering Raspberry Pi VPC networks:
- What is a VPC?
- Raspberry Pi VPC Basics
- Hardware Requirements
- Setting Up Your Raspberry Pi
- Configuring the Network
- Security Best Practices
- Adding Virtual Machines to Your VPC
- Troubleshooting Common Issues
- Performance Optimization Tips
- Wrapping It Up
What is a VPC?
Alright, let’s start with the basics. A Virtual Private Cloud (VPC) is essentially your own private cloud environment that runs within a larger public cloud infrastructure. Think of it like having your own little corner of the internet where you can store files, run applications, and manage resources—all while keeping everything secure and private.
When you use Raspberry Pi to set up a VPC, you’re creating a mini-cloud ecosystem that’s perfect for learning, experimentation, and even small-scale deployment. It’s kinda like building your own personal server farm, but way more affordable and energy-efficient.
- Hdhub4u South Hindi Your Ultimate Destination For Bollywood Entertainment
- Movierulz 2025 31053148311231493122314731053149 The Ultimate Guide For Movie Enthusiasts
Now, here’s the cool part: with Raspberry Pi, you’re not just limited to running basic services. You can create a full-fledged VPC network that supports multiple virtual machines, secure connections, and even load balancing. How’s that for a tech upgrade?
Raspberry Pi VPC Basics
Why Use Raspberry Pi for VPC?
Let’s be real—Raspberry Pi isn’t just a toy for hobbyists anymore. It’s a powerhouse when it comes to setting up lightweight servers, and its low power consumption makes it perfect for running 24/7. Plus, it’s super affordable, so you don’t have to break the bank to experiment with VPC technology.
Here are some key reasons why Raspberry Pi is a great choice for building a VPC network:
- Affordable: You can get started with minimal investment.
- Energy-Efficient: It uses way less power than traditional servers.
- Versatile: You can run a wide range of operating systems and applications.
- Community Support: There’s a huge community of developers who can help you troubleshoot and learn.
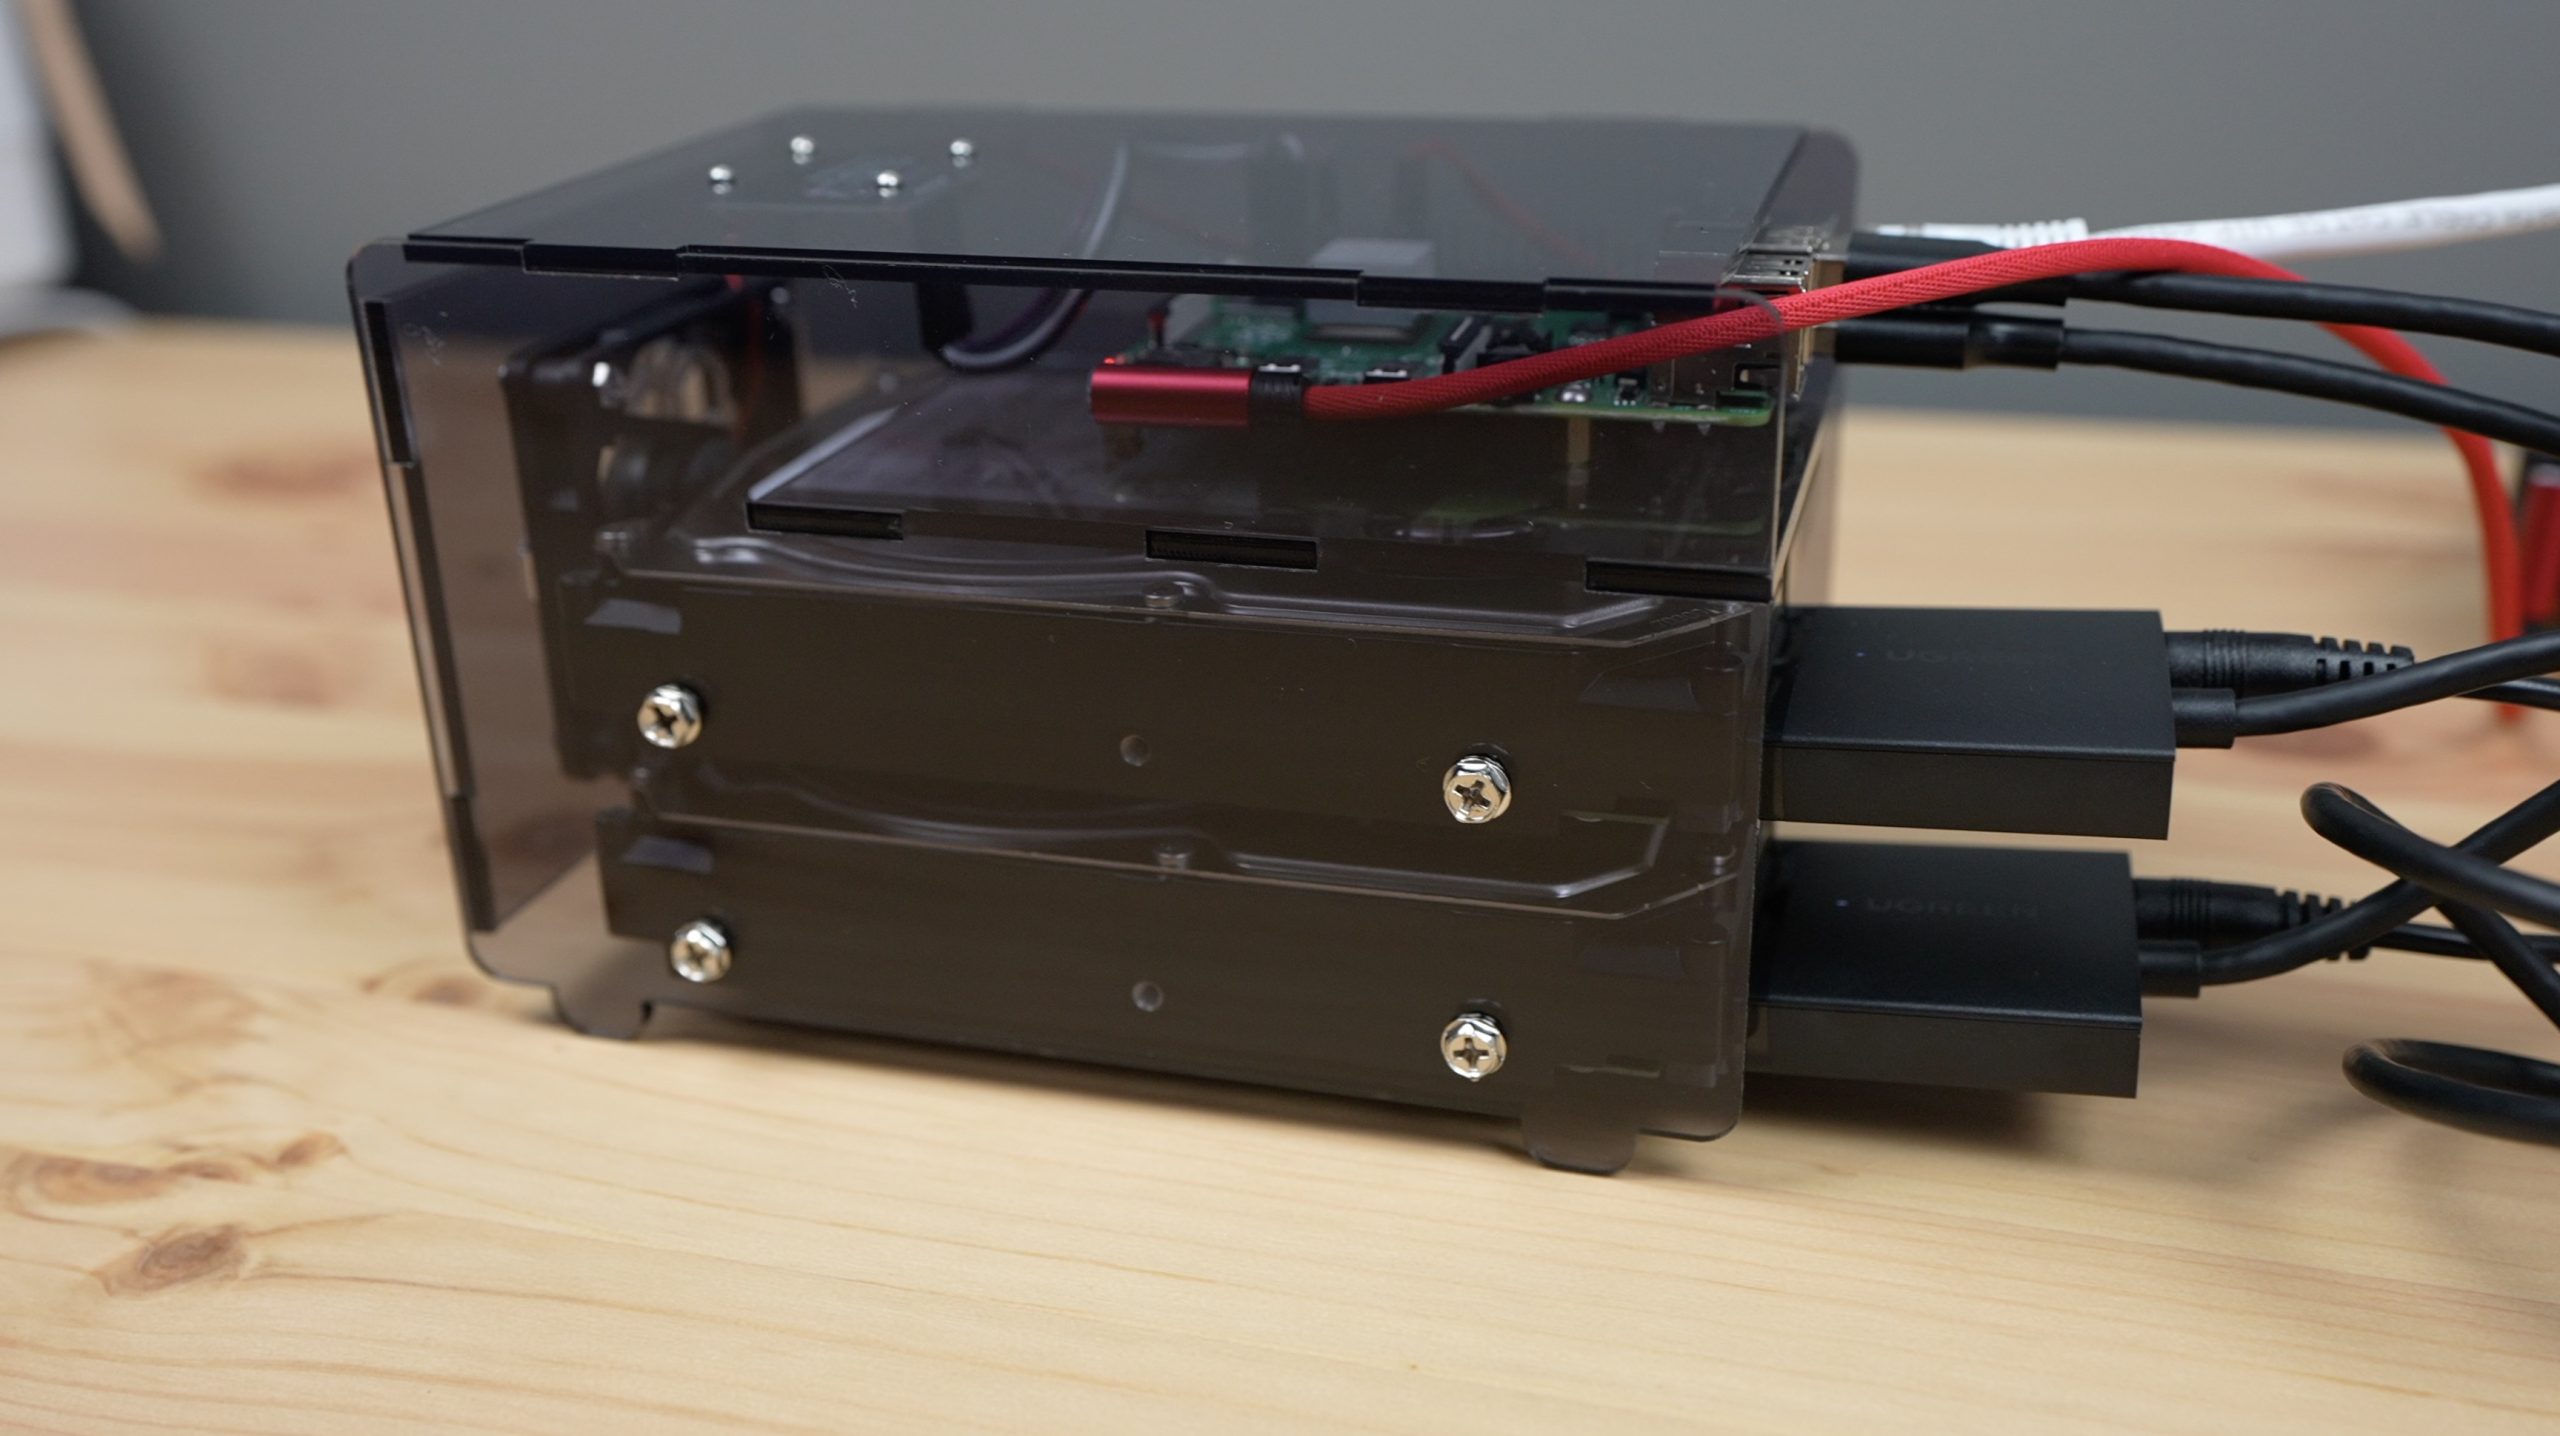
Hardware Requirements
Before you dive into setting up your Raspberry Pi VPC, you’ll need to make sure you have the right hardware. Here’s a quick rundown of what you’ll need:
- Raspberry Pi 4 Model B (or newer)
- MicroSD card (at least 32GB)
- Power supply (official Raspberry Pi power adapter recommended)
- Ethernet cable (optional, but recommended for stable network connections)
- Keyboard and monitor (or access via SSH)
Pro tip: If you’re planning to run multiple virtual machines, consider upgrading to a Raspberry Pi with more RAM. Trust me, your VPC will thank you later.
Setting Up Your Raspberry Pi
Step 1: Installing the Operating System
The first step in setting up your Raspberry Pi VPC is to install the operating system. For this tutorial, we’ll be using Raspberry Pi OS, but feel free to experiment with other options like Ubuntu Server if you’re feeling adventurous.
Here’s how you do it:
- Download Raspberry Pi Imager from the official website.
- Insert your microSD card into your computer.
- Launch Raspberry Pi Imager and select the Raspberry Pi OS image.
- Write the image to your microSD card and eject it safely.
Once your OS is installed, pop the microSD card into your Raspberry Pi and power it on. Easy peasy, right?
Configuring the Network
Now that your Raspberry Pi is up and running, it’s time to configure the network. This is where the magic happens, and your VPC starts to take shape.
Setting Up Static IP Addresses
Static IP addresses are crucial for ensuring that your devices can communicate reliably within your VPC. Here’s how you set them up:
- Open the terminal on your Raspberry Pi.
- Run the command
sudo nano /etc/dhcpcd.confto edit the network configuration file. - Add the following lines to assign a static IP address:
interface eth0
static ip_address=192.168.1.100/24
static routers=192.168.1.1
static domain_name_servers=192.168.1.1
Save the file and reboot your Raspberry Pi. Voila! You’ve got a static IP address.
Security Best Practices
Security is key when you’re running a VPC network. You don’t want unauthorized access to your private cloud, do you? Here are some tips to keep your VPC secure:
- Use strong passwords for all user accounts.
- Enable firewall rules to restrict incoming traffic.
- Regularly update your operating system and applications to patch vulnerabilities.
- Consider setting up a VPN for secure remote access.
Remember, security isn’t a one-time thing—it’s an ongoing process. Stay vigilant and keep your VPC protected!
Adding Virtual Machines to Your VPC
Using Virtualization Software
One of the coolest things about Raspberry Pi is its ability to run virtual machines. This allows you to create a multi-server environment within your VPC. To get started, you’ll need to install virtualization software like QEMU or VirtualBox.
Here’s a quick guide to setting up QEMU:
- Install QEMU using the command
sudo apt install qemu. - Create a new virtual machine by running
qemu-system-x86_64. - Configure the VM settings to allocate resources like CPU and memory.
With your virtual machines up and running, you can start experimenting with different services and applications within your VPC.
Troubleshooting Common Issues
Even the best-laid plans can go awry, and troubleshooting is an inevitable part of working with Raspberry Pi VPC networks. Here are some common issues and how to fix them:
- Network Connectivity Issues: Check your Ethernet cable and ensure your static IP configuration is correct.
- Slow Performance: Make sure your Raspberry Pi has enough RAM and storage space.
- SSH Access Problems: Verify that SSH is enabled in Raspberry Pi settings.
If all else fails, don’t hesitate to reach out to the Raspberry Pi community forums. Chances are, someone else has already solved the problem you’re facing.
Performance Optimization Tips
Want to get the most out of your Raspberry Pi VPC? Here are a few tips to boost performance:
- Use a fast microSD card for better read/write speeds.
- Optimize your network settings for minimal latency.
- Regularly clean up unnecessary files and applications to free up space.
By following these tips, you’ll ensure that your VPC runs smoothly and efficiently, even under heavy load.
Wrapping It Up
And there you have it—your ultimate guide to setting up a Raspberry Pi VPC network. Whether you’re building a personal cloud, experimenting with virtualization, or just learning the ropes of cloud computing, Raspberry Pi is an incredible tool that can help you achieve your goals.
Remember, the key to success is persistence and curiosity. Don’t be afraid to experiment and try new things. And if you run into any issues, don’t hesitate to ask for help from the Raspberry Pi community.
So what are you waiting for? Get out there and start building your VPC today! And when you’re done, be sure to share your experience in the comments below. Who knows—your story might inspire someone else to take the plunge into the world of Raspberry Pi VPC networks.

Detail Author:
- Name : Ansley Lehner
- Username : hbarton
- Email : sanford17@lockman.info
- Birthdate : 1977-08-04
- Address : 181 Abagail Wall Apt. 620 South Gradyport, OH 05644-6405
- Phone : +1-763-352-7210
- Company : Collier-Upton
- Job : Optical Instrument Assembler
- Bio : Facilis et ipsum et alias voluptas odit. Rerum repellendus dolores culpa reiciendis praesentium. Ipsum quasi tempore labore qui. Non quis ut molestiae cum.
Socials
tiktok:
- url : https://tiktok.com/@cade_nader
- username : cade_nader
- bio : Voluptatem provident quia quidem expedita. Doloribus nostrum fugit aut.
- followers : 3223
- following : 1867
facebook:
- url : https://facebook.com/cade1768
- username : cade1768
- bio : Est et est veniam ea odit et.
- followers : 5343
- following : 2755
instagram:
- url : https://instagram.com/naderc
- username : naderc
- bio : Hic ea laudantium quis ipsam. A nisi delectus laborum error voluptatem.
- followers : 212
- following : 2444
twitter:
- url : https://twitter.com/cade_dev
- username : cade_dev
- bio : Repellat qui necessitatibus id veritatis autem consequatur. Vel quis necessitatibus laborum doloribus vel. Incidunt incidunt quidem possimus dolor qui ut.
- followers : 2177
- following : 1560
linkedin:
- url : https://linkedin.com/in/nader2009
- username : nader2009
- bio : Non et placeat nihil rerum ullam dolorem.
- followers : 2425
- following : 957

 using Raspberry Pi? Well, you’re in the right place. In this tutorial, we’ll dive deep)